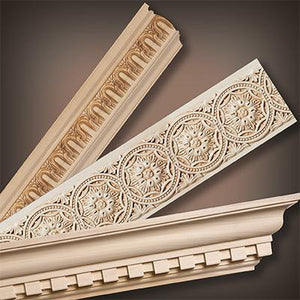
This edition's 20-20 Design tip corresponds along with Peter Salerno's design recommendations about adding vertical elements to tall cabinetry applications such as wall ovens and refrigerator cabinets. White River has a wide variety of designer styles of capitals, mouldings, and plynth blocks in different sizes to fit your particular design application.
These tips are best used when designing with 20-20's Design+ Software, but can also be utilized with 20-20's default cabinetry.
Choosing the right cabinet
1. For this example, we will be using a base cabinet and two wall cabinets to create the look of a custom refrigerator. These three cabinets are placed one on top of the other and the stiles are set to 6 ½" to accept this particular capital and pilaster. If you have Design+ catalogs, you can easily change the stiles by going into the cabinet's "Attributes," "Variables," then "Frame." See Picture 1-A.

If you are using the default Sample catalogs, such as Sample F, I suggest simply adding a tall cabinet filler piece at the correct width onto the left and right side of the cabinet. Adjust the color to match the wall/base cabinets. See picture 1-B.

2. First, choose the type of capital you would like to use. For this example, we are using CRV5580. Once you drag the capital into the floor plan, place it on the front of the stile, right-click and go to "Center." Click once on the stile and hit "Enter" on your keyboard. The capital should be centered on the stile. Next, adjust the vertical position of the capital by right-clicking and going to "Up/Down." You want the top of the capital to line up with the top of the stile. See picture 1-C. You can easily add another capital to the other side by mirroring it. Use the center of the cabinetry as your pivot point.

3. This particular capital has a nice flat area to add an onlay or rosette. In this example, we are using CRV5164. Once you drag it into the floor plan and change the color, center the rosette with the capital, then adjust the vertical position of the rosette using "Up/Down" and the horizontal position using "In/Out." Add the rosette to the other side using the "Mirror" command and using the center point of the wall cabinet as your pivot point. See picture 1-D.

4. Now, add the vertical moulding piece. In the White River Catalog, choose MLD5830T in maple or cherry. Drag it into the design, then change the color to match the cabinetry. Place the moulding on the face of the stile and center it. Adjust the vertical placement by using "Up/Down." You may have to go into "Attributes" and adjust the height of the moulding. Copy the piece of moulding and center it on the other stile. See picture 1-E and 1-F. Your design should look like 1-G.


5. Add decorative mouldings and baseboards to complete your custom refrigerator or wall oven cabinetry. See picture 1-G.

7. You can further customize your rangehood with a crown moulding and a bottom panel mould.

